
On-site inspections are one of the cost and timeline drivers of a cost segregation study. An engineer or specialist visits your property, photographs every component, measures rooms, and documents building systems. That travel and on-site time add expense and can extend the schedule.
Many firms, including R.E. Cost Seg, now offer virtual inspections: engineer-guided video walkthroughs that reduce or eliminate the need for an in-person visit. The quality of a virtual inspection depends heavily on one thing: your documentation.
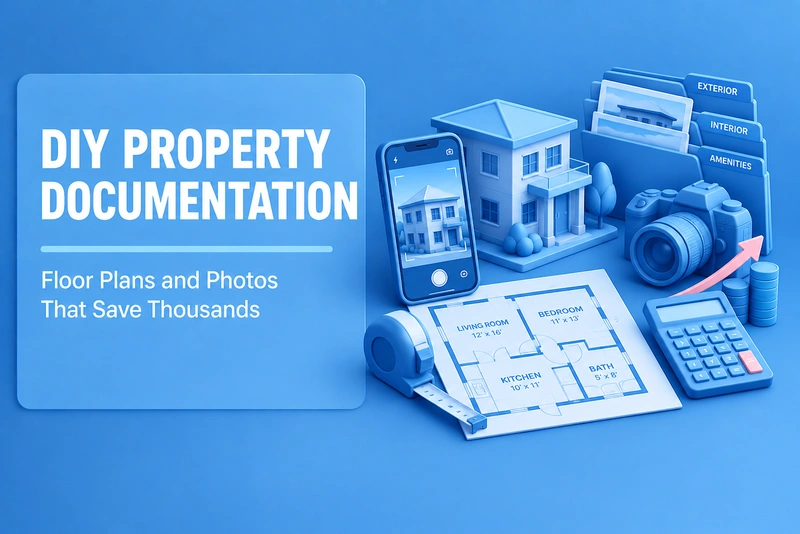
Investors who photograph their property thoroughly and sketch a basic floor plan help engineers identify more components that may qualify for accelerated depreciation. This article shows you exactly what to capture and how to package it.
Why Documentation Matters for Cost Segregation
A cost segregation study is an engineering-based analysis. The engineer identifies building components that can be assigned to 5-year, 7-year, and 15-year recovery periods instead of the standard 27.5-year (residential) or 39-year (nonresidential) schedule. The IRS Cost Segregation Audit Techniques Guide confirms this split: shorter-lived §1245 personal property is generally 5- or 7-year, while land improvements fall to 15-year. That classification requires visual confirmation of materials, fixtures, and building systems.
During an in-person site visit, an engineer captures this information directly. The IRS does not mandate an in-person visit, but its Audit Techniques Guide recommends field inspections and photographing specific assets. During a virtual inspection, the engineer relies on your photos, video walkthrough, and floor plan to make the same assessments.
Better documentation can produce a more accurate study, and a more accurate study tends to identify more qualifying components, which can mean larger first-year deductions. A property with thin documentation may miss reclassification opportunities, such as undocumented decorative lighting or specialty electrical, that a thorough photo set would have revealed.
One caveat: for large, complex, or heavily renovated properties, an on-site inspection is still often the gold standard for the most audit-defensible result. Ask your provider which approach fits your property.
Can I do my own cost segregation study with photos?
No. A defensible study relies on engineering-based methodology and detailed knowledge of IRS asset-classification rules, expertise a photo set alone can't provide. Think of your documentation as the raw material. The engineering firm turns it into a defensible, IRS-ready study. Your photos support the analysis; they don't replace it.
Does the IRS require an in-person site visit for a cost segregation study?
There is no IRS approval process for study formats, and no rule requires an in-person visit. The IRS Cost Segregation Audit Techniques Guide lists a site inspection with photographs among the elements of a quality study, and a documented, engineer-guided virtual inspection is designed to meet that element. For the most complex properties, an on-site review remains the stronger record.
Better documentation produces a more accurate study. More accurate studies identify more qualifying components. More qualifying components mean higher first-year deductions.
A property with poor documentation may miss reclassification opportunities that a thorough photo set would have revealed. The difference can be tens of thousands of dollars in bonus depreciation.
Can I do my own cost segregation study with photos?
No. A cost segregation study requires engineering expertise, IRS-compliant methodology, and detailed knowledge of asset classification rules. Your photos support the engineer's analysis, they do not replace it. Think of your documentation as the raw material. The engineering firm transforms it into a defensible, IRS-ready study.
The Photo Checklist: Room by Room
Your goal is to give the engineer a complete visual record of every building component. Use your smartphone camera. Natural lighting works best. Take multiple angles of each space.
Exterior photos:
- All four sides of the building
- Roof line and any rooftop equipment (HVAC units, vents, satellite dishes)
- Parking lot surface, striping, and curbing
- Landscaping, irrigation systems, and retaining walls
- Exterior signage, lighting fixtures, and fencing
- Sidewalks, driveways, and drainage features
Interior photos of every room:
- Wide-angle shot from the doorway showing the full room
- Flooring material (hardwood, tile, carpet; capture transitions between materials)
- Cabinetry and countertops (kitchen and bathrooms)
- Light fixtures (ceiling, recessed, track, under-cabinet)
- Window treatments (blinds, shutters)
- Built-in shelving, closet systems, and millwork
- Appliances (built-in ovens, dishwashers, garbage disposals)
Mechanical and utility photos:
- Electrical panel (open the cover and photograph the label)
- Water heater (capture the nameplate showing capacity and type)
- HVAC equipment: furnace, air handler, condenser unit
- Specialty plumbing (floor drains, grease traps, sump pumps)
- Fire suppression systems (sprinkler heads, alarm panels)
- Security systems and intercom equipment
Land improvement photos:
Land improvements sit outside the structure but still affect your depreciable basis after the land value exclusion. Under MACRS, depreciable land improvements generally carry a 15-year recovery period, per IRS Publication 946. (A few activity-specific asset classes can differ, which is one more reason to leave classification to the engineer.)
- Fencing (material, height, linear footage)
- Retaining walls
- Outdoor lighting (pole-mounted, bollard, pathway)
- Patios, decks, and outdoor structures
- Pools, hot tubs, and related equipment
Here's how this can play out. Suppose an investor documents a $650,000 rental property with 47 detailed photos covering every room and all exterior features. The engineer identifies decorative millwork, specialty electrical for a home theater, and upgraded landscaping lighting the investor had overlooked, adding $18,000 in reclassified value. For an investor in the top 37% federal bracket, deducting that $18,000 in year one produces roughly $6,660 in first-year tax savings ($18,000 × 37%). That figure assumes those components are fully deducted under 100% bonus depreciation. Keep in mind this is primarily a timing benefit: it accelerates deductions you would otherwise claim over 27.5 or 39 years, and the accelerated amounts may be subject to depreciation recapture when you sell.
Thirty minutes of photography can surface deductions worth thousands.
Why 100% Bonus Depreciation Raises the Stakes
Every extra component your documentation surfaces is now more valuable. Under the One Big Beautiful Bill Act, the IRS confirms that 100% bonus depreciation is permanently restored for qualified property acquired and placed in service after January 19, 2025, per IRS guidance. Because qualifying 5-, 7-, and 15-year property can be written off entirely in year one, a component the engineer overlooks is a full first-year deduction left on the table.
Sketching a Floor Plan That Engineers Can Use
You do not need architectural drawings. A hand-drawn sketch on notebook paper works if it includes the right information.
What to include in your floor plan:
- Room labels (bedroom, kitchen, garage, utility room)
- Approximate room dimensions (pace off the length and width if you lack a tape measure)
- Door and window locations
- Location of major fixtures (water heater, electrical panel, HVAC unit)
- Any recent renovations or additions (mark these clearly)
Free smartphone apps make this easier. Apps such as MagicPlan and RoomScan use your phone's camera and sensors to generate digital floor plans. These are not professional-grade, but they give the engineer enough detail for a study.
For multi-story properties, sketch each floor separately. For multi-unit properties (apartment buildings, duplexes), create one floor plan per unit type. Identical units only need one plan.
The engineer references your floor plan during the virtual walkthrough to confirm room locations and component placement. The more complete your sketch, the faster and more accurate the inspection.
Packaging and Submitting Your Documentation
Organization saves time for you and the engineering team. Structure your files before uploading.
Organize photos by area:
- Create folders: Exterior, Kitchen, Living Room, Bedroom 1, Bathroom 1, Mechanical, Land Improvements
- Name each photo with a brief description (for example, "Kitchen: countertops and cabinetry")
Include your floor plan sketches as separate files. If you used a smartphone app, export as PDF. If you drew by hand, photograph the sketch clearly.
Add a brief property summary:
- Closing statement (Closing Disclosure or settlement statement), including the purchase price, closing date, and basis-eligible closing costs
- Property address and type (single-family rental, duplex, commercial)
- Year built and any major renovation dates
- Number of units (if multi-family)
Keep the closing statement, floor plan, original photos, and completed study for as long as you own the property, plus the applicable limitations period after you sell. These records substantiate the depreciation schedule, and time-stamped photos can also document the property's placed-in-service condition. Smartphones typically embed the capture date in each photo file, so preserve the original metadata when exporting or organizing the images.
Most firms accept documentation through an online portal or email. R.E. Cost Seg provides a secure upload dashboard where you can submit everything in one step.
Your 30-Minute Investment Pays Off
- Photograph everything: exterior, interior, mechanical, and land improvements. More detail helps the engineer reclassify more components.
- Sketch a basic floor plan, hand-drawn or app-generated. Include room labels, dimensions, and fixture locations.
- Organize before submitting. Folders and clear file names save the engineering team time and improve study accuracy.
- Your photos support the engineer; they do not replace the study. A defensible study requires professional engineering analysis.
- With 100% bonus depreciation permanent for property placed in service after January 19, 2025, every 5-, 7-, or 15-year component the engineer can identify is a potential full first-year deduction.
Want to see how much your property could save? Get a free, no-obligation proposal and start documenting today.